
How to Plan a Walt Disney World Trip in 2026 (Step-by-Step for Busy Families)

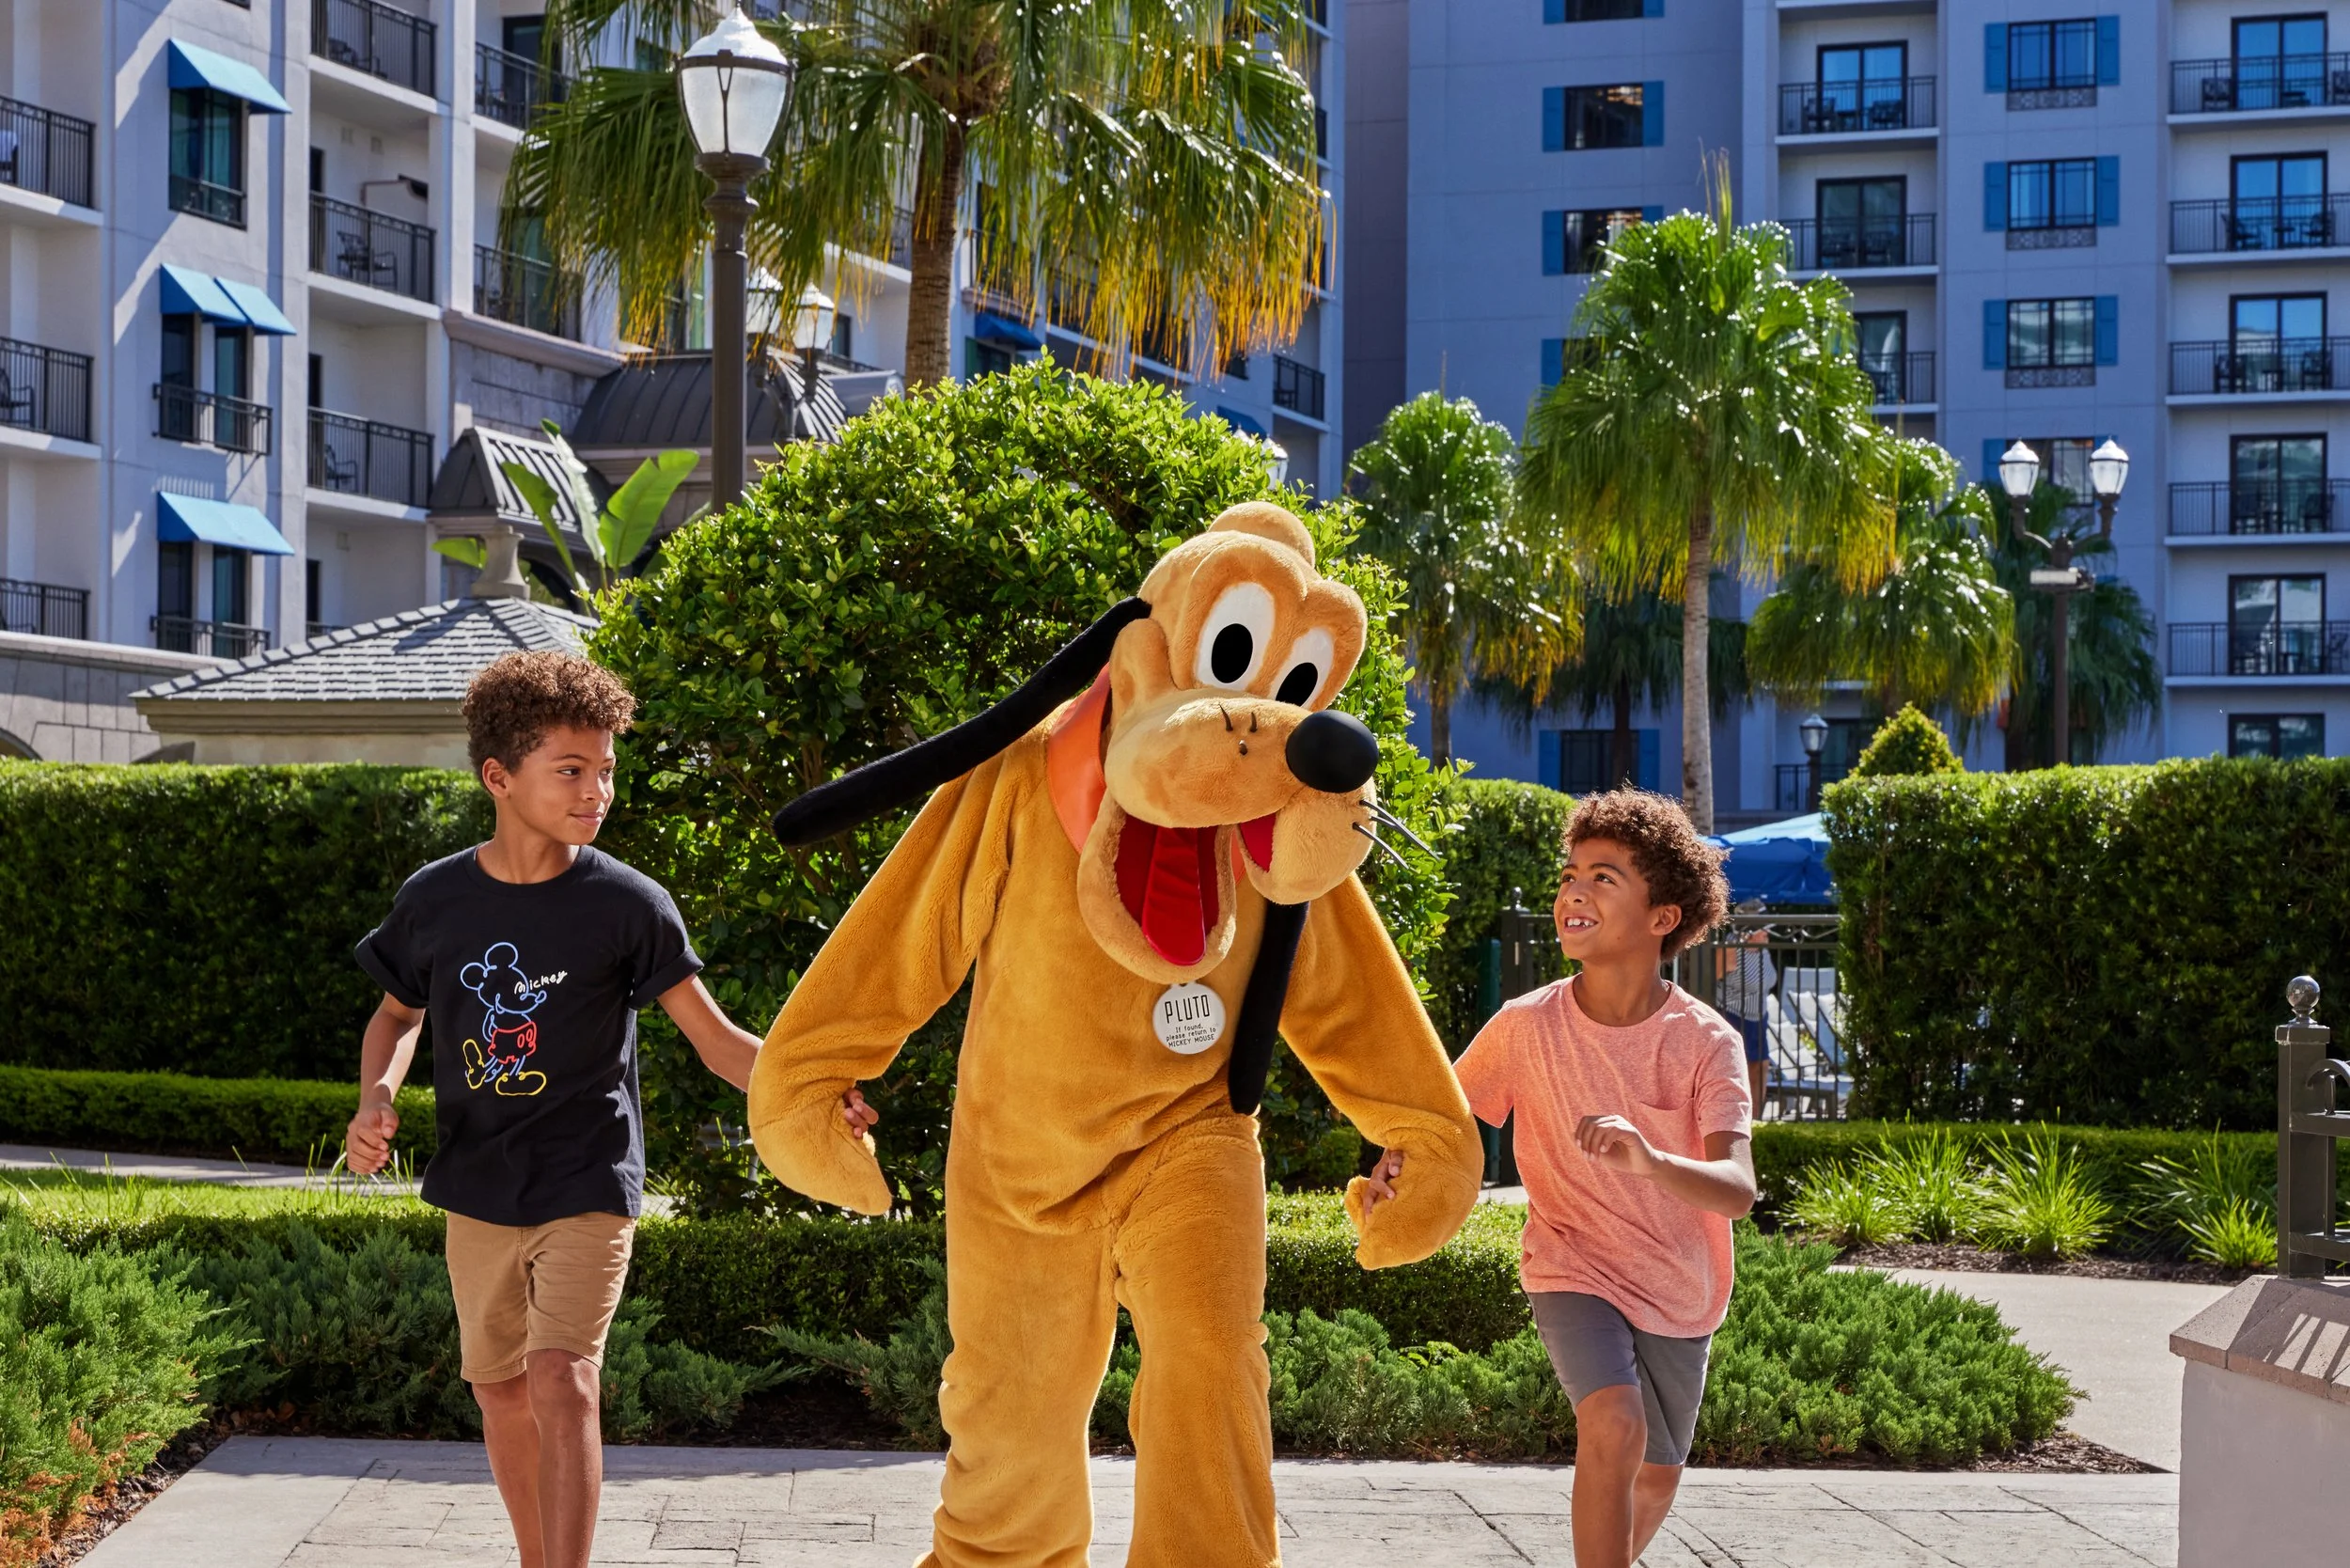
Walt Disney World’s Magic Kingdom
Planning a Disney World vacation can feel overwhelming—especially if you're a busy parent trying to “get it right.” Between choosing the right resort, understanding the Lightning Lane system, booking dining reservations, and figuring out park strategy… it’s a lot. The good news? You don’t need to spend hours researching. This step-by-step guide will walk you through exactly how to plan a stress-free Disney World trip in 2026.
Step 1: Decide When to Go
Your travel dates will impact crowds, weather, pricing, and overall experience.
Here’s how to choose:
Lower crowds: Mid-January–early March, late April–mid May, late August–September
Best weather: February–April and October–early December
Holiday magic (but higher crowds): Thanksgiving, Christmas, Spring Break
Cheapest times: Late August, September, and some January weeks
Pro tip: Avoid major runDisney events, holiday weeks, and long weekends unless you’re prepared for crowds.
A Disney trip can be magical any time if you know what to expect and plan for the weather and crowds.
Step 2: Set Your Budget
Disney trips vary widely depending on resort, tickets, and extras.
Here’s a realistic breakdown for a family of four (5–6 nights):
Value Resort: $4,000–$6,000
Pop Century, Art of Animation, All-Star Music, All-Star Movies, and All-Star Sports
Smaller rooms, but budget-friendly and fun themes
Moderate Resort: $6,000–$8,500
Caribbean Beach, Port Orleans French Quarter, Port Orleans Riverside, and Coronado Springs
Better pools, more space, larger room, and nicer theming
Deluxe Resort: $9,000+
Polynesian, Grand Floridian, Beach Club, Yacht Club, Riviera Resort, Contemporary, Animal Kingdom Lodge, BoardWalk Inn, Wilderness Resort, Saratoga Springs, and Old Key West Resort
Best locations (walk/monorail), larger rooms, top-tier amenities
Don’t forget to budget for:
Dining ($150–$250/day for a family)
Lightning Lanes ($20–$35+/person/day depending on demand)
Souvenirs and extras
Riviera Resort
Step 3: Choose the Right Resort
Your resort impacts transportation, convenience, and daily stress level.
Here’s how to choose:
Value Resorts: Best for saving money if you’ll be in the parks all day
Moderate Resorts: Good balance of price + comfort
Deluxe Resorts: Best for convenience (close to parks, easier midday breaks)
Key things to consider:
Skyliner access (huge perk for EPCOT & Hollywood Studios)
Monorail access (Magic Kingdom convenience)
Room size (important with kids)
Travel time to parks
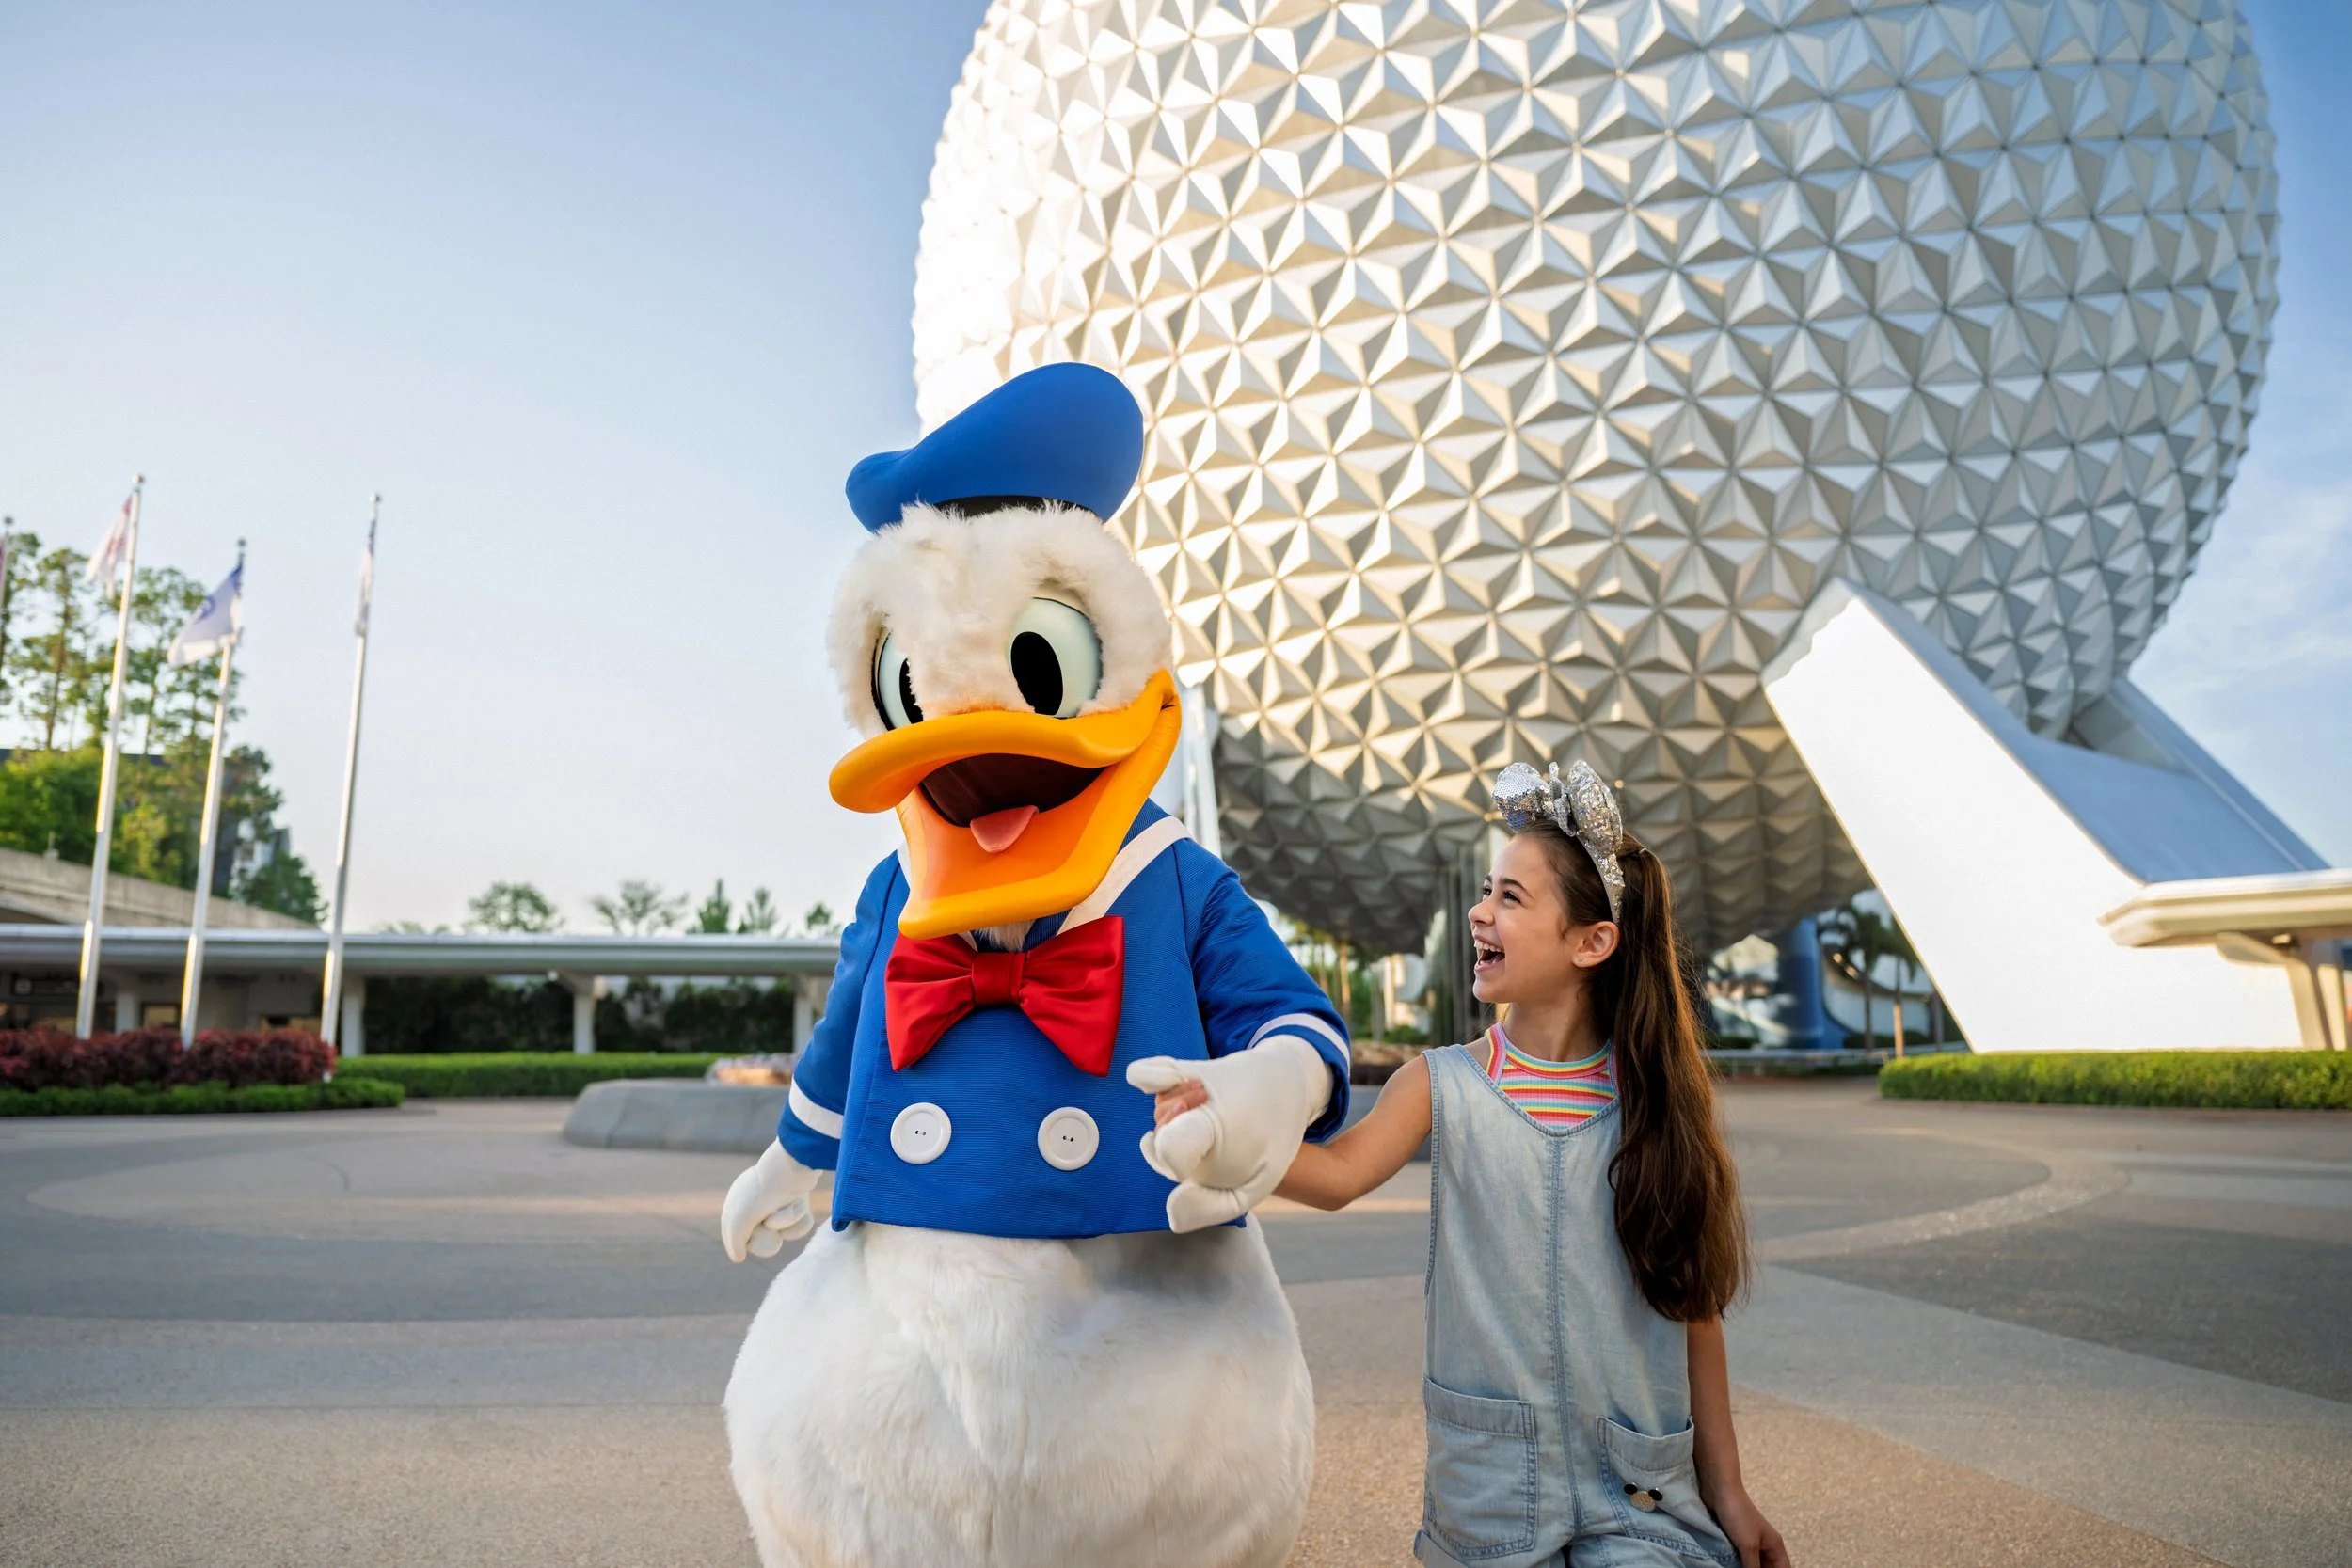
EPCOT
Step 4: Buy Park Tickets
You’ll need to decide:
How many park days?
First-time trip: 4–5 park days is ideal
Park Hopper or not?
Not necessary for first-time families
Helpful if you want flexibility or shorter park days
Simple recommendation:
First trip → skip Park Hopper
Returning visitors → consider it for flexibility
Step 5: Make Dining Reservations
Disney dining reservations open 60 days before your trip—and popular spots go FAST.
Top reservations to prioritize:
Character dining (Chef Mickey’s, Cinderella’s Royal Table)
Space 220 (EPCOT)
Ohana (Polynesian)
Be Our Guest (Magic Kingdom)
Strategy:
Book hardest-to-get restaurants first
Schedule 1 table-service meal per day max
Leave room for flexibility (you don’t want to overbook your schedule)
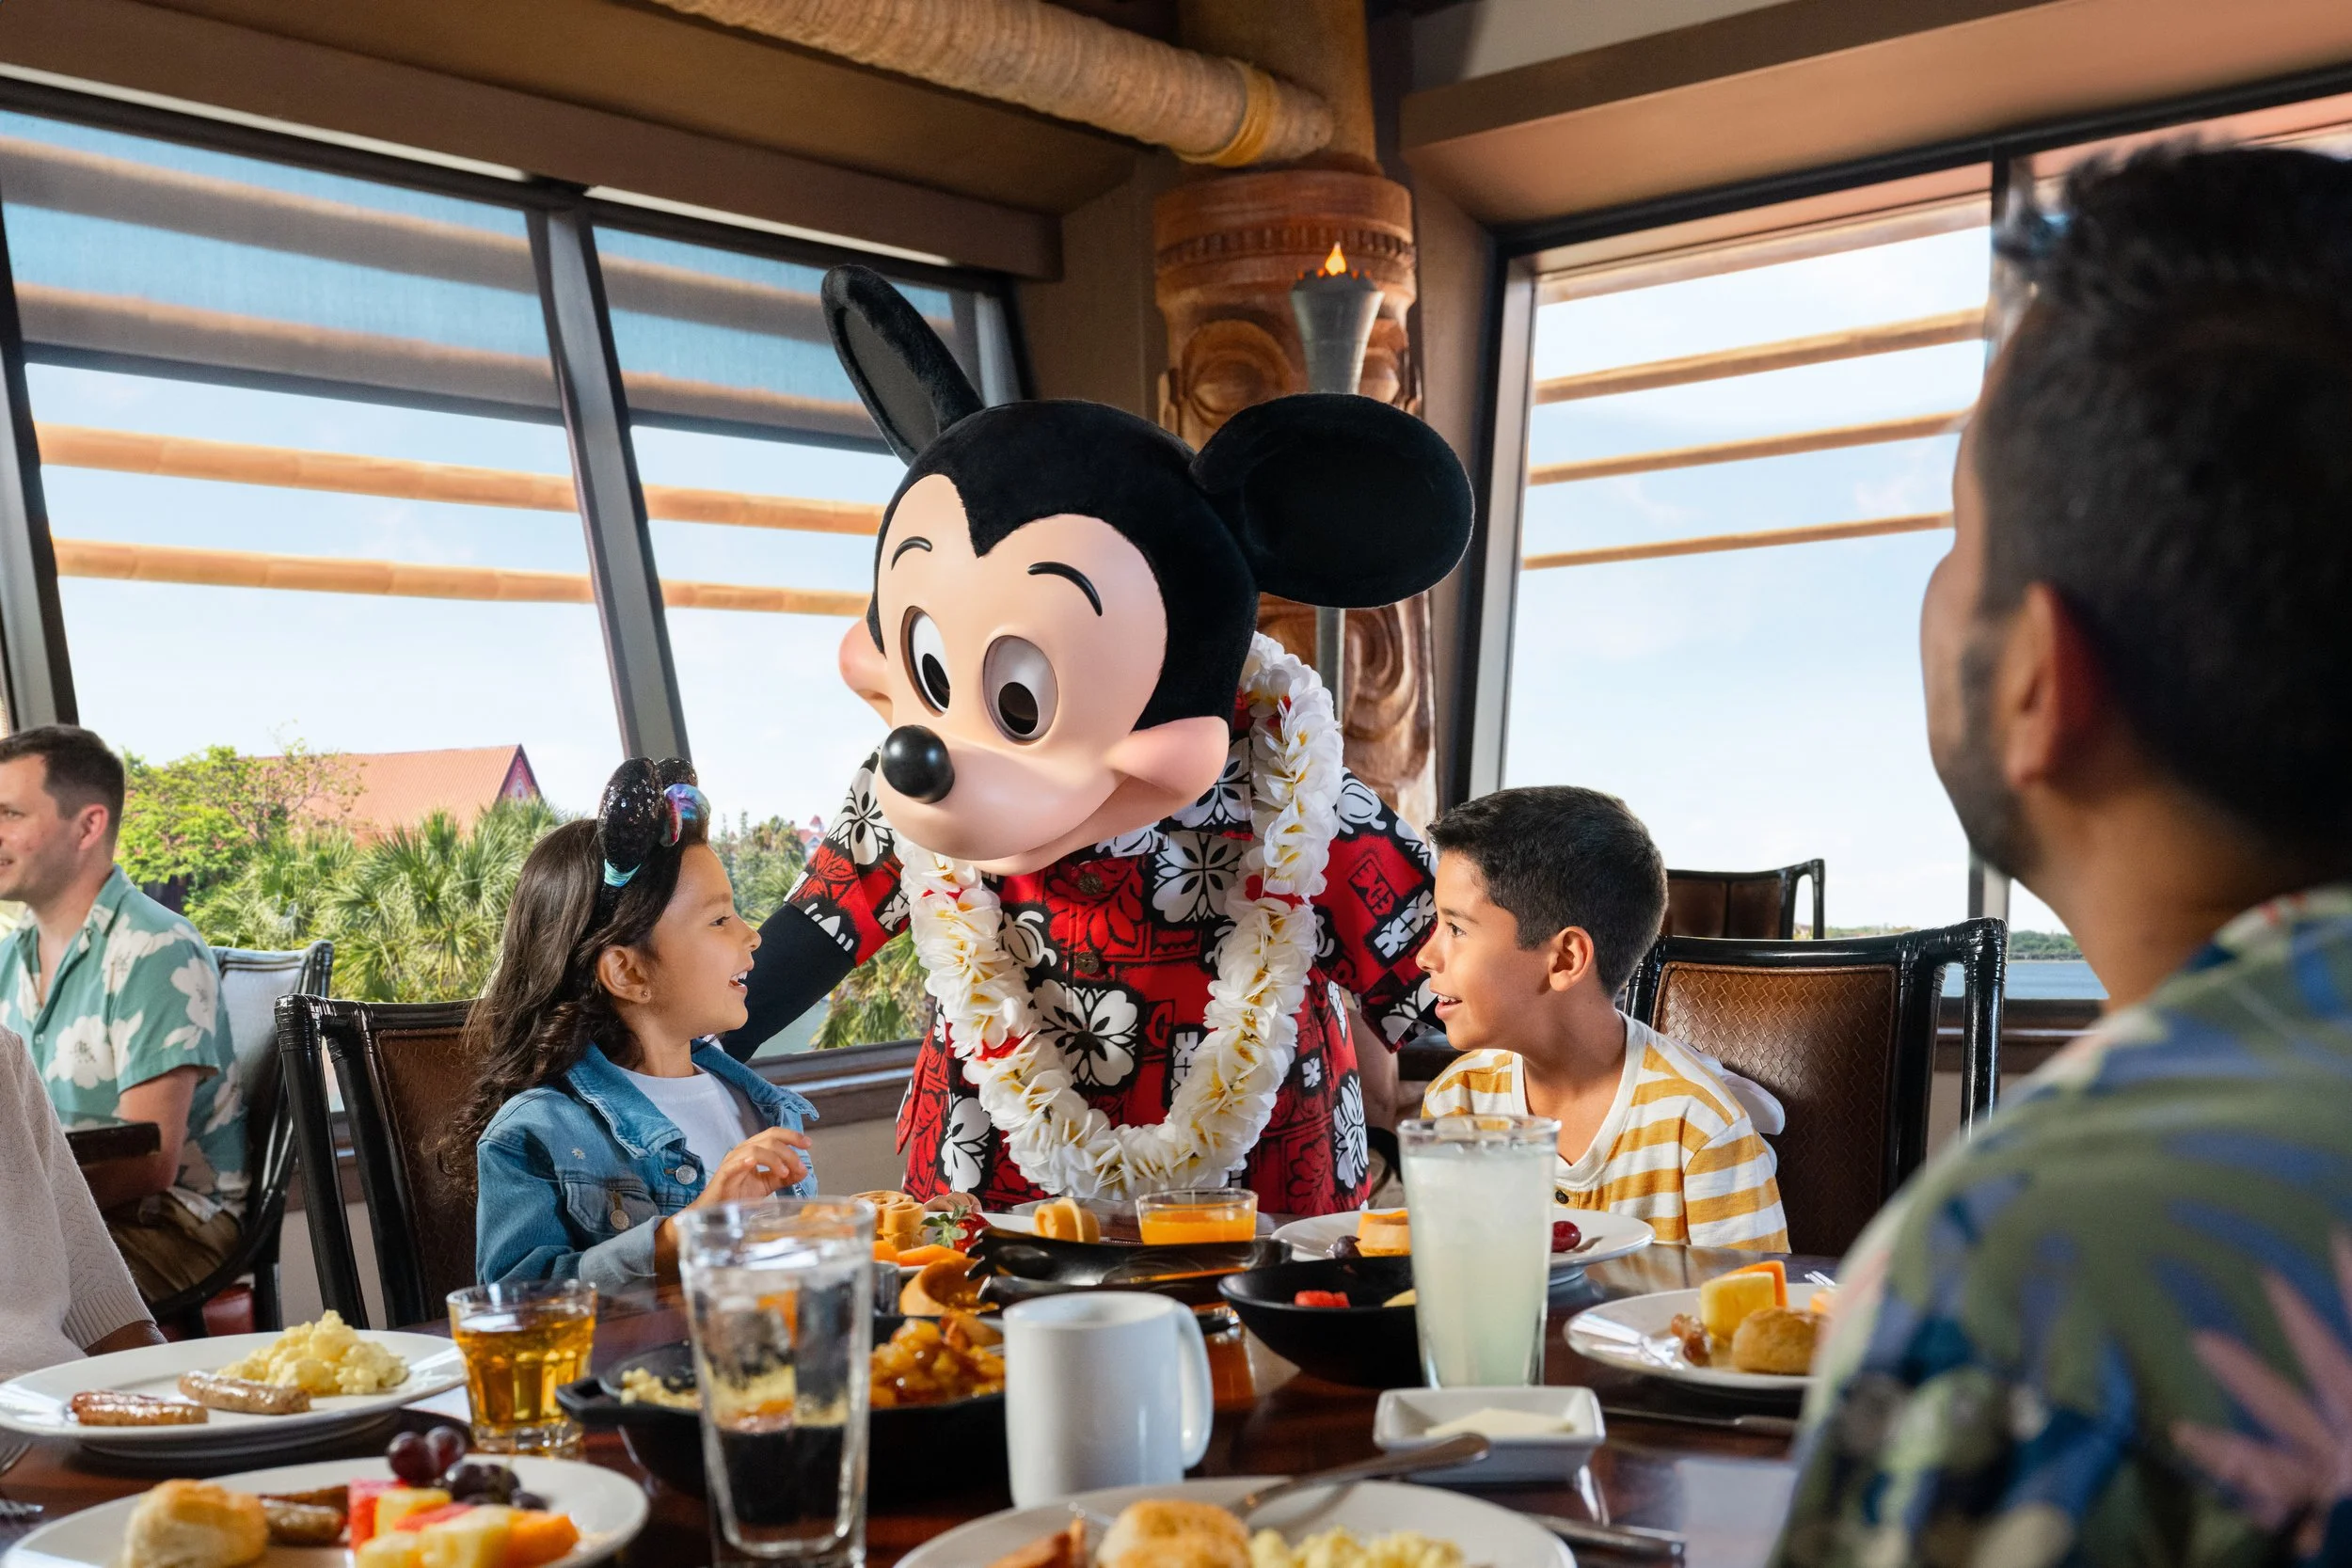
Mickey Dining at ‘Ohana
Step 6: Plan Your Park Days
Each park requires a slightly different strategy.
Start by identifying your top priorities:
Magic Kingdom: Seven Dwarfs Mine Train, Tron, character meet-and-greets
EPCOT: Guardians of the Galaxy, Frozen Ever After, World Showcase
Hollywood Studios: Rise of the Resistance, Slinky Dog Dash
Animal Kingdom: Flight of Passage, Safari
Then:
Plan 3–5 “must-do” experiences per day
Fill in the rest with shows, snacks, and lower-wait attractions
Avoid trying to “do everything”
Step 7: Understand Lightning Lane
Lightning Lane allows you to skip standby lines, but it requires a plan.
In 2026, you’ll likely be using:
Lightning Lane Multi Pass (multiple rides)
Lightning Lane Single Pass (individual high-demand rides)
Key tips:
Book your first selections early in the day
Prioritize high-wait rides first
Stack rides for later if you want a slower morning
This is where most families get overwhelmed—and where having help makes a huge difference.
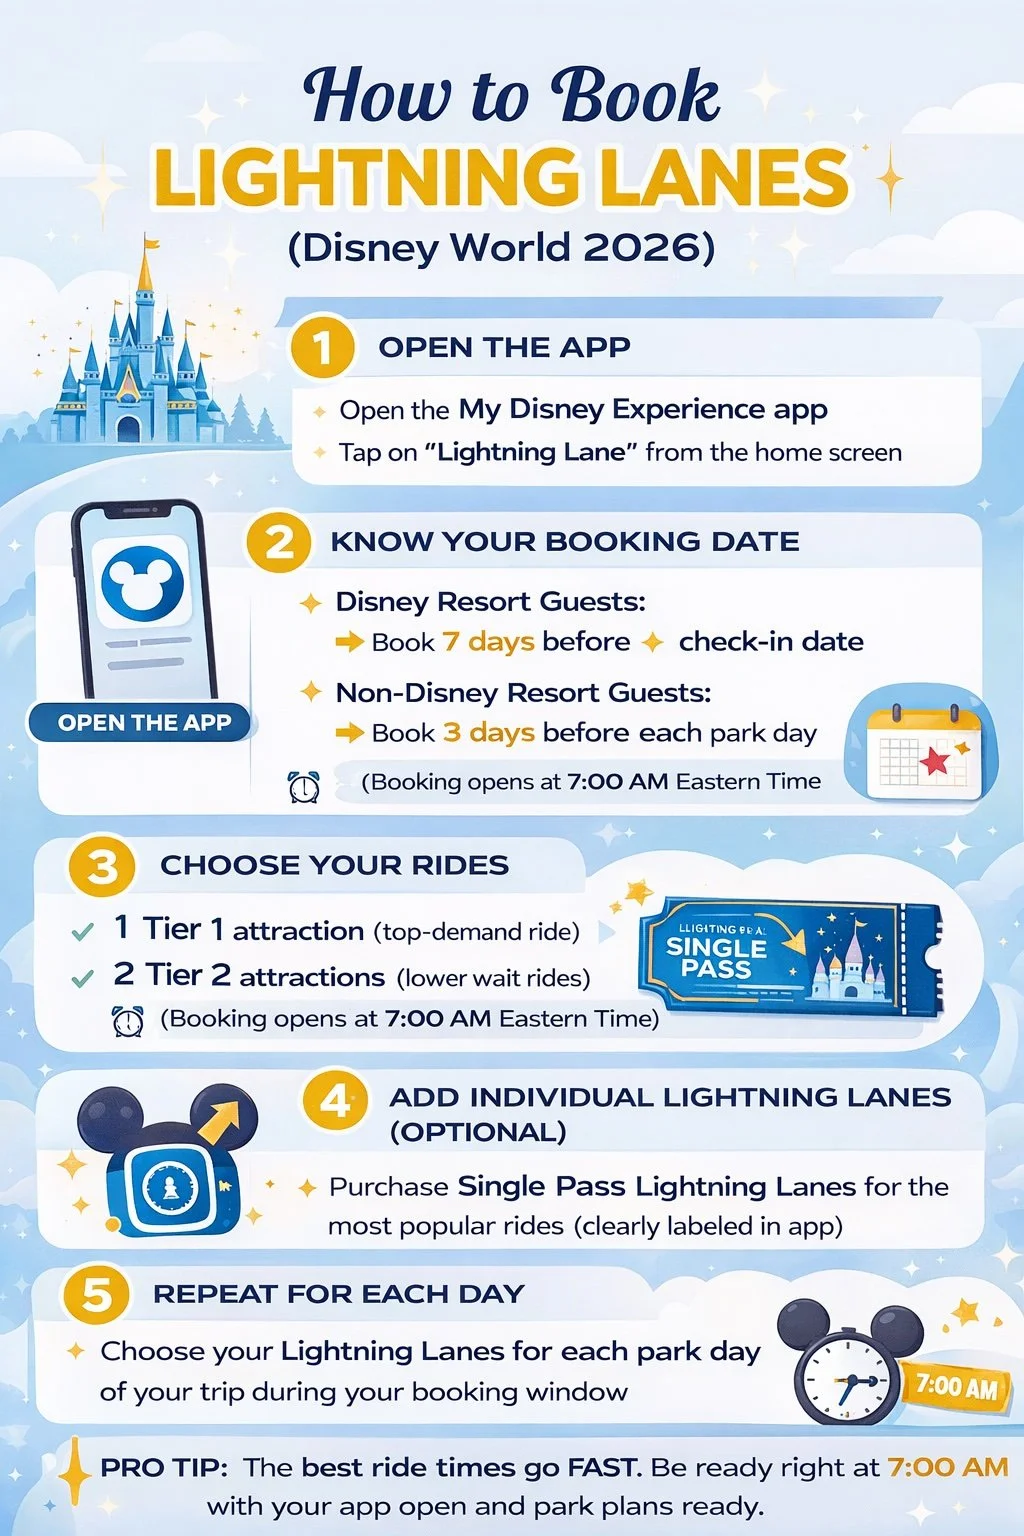
Joy Via Travel’s Lightening Lane Instructions
Step 8: Pack Smart
The right items can make or break your day.
Must-haves:
Portable chargers (you’ll use your phone frequently for pictures, to view wait times, and book Lightening Lanes)
Ponchos or lightweight rain jackets
Comfortable walking shoes (non-negotiable)
Refillable water bottles
Snacks for kids
Cooling towels or fans (especially in summer)
Optional but helpful:
Small backpack for park days
Autograph book for kids
Extra socks (rain = blisters)
Step 9: Build in Breaks
This is one of the biggest mistakes families make.
Disney is magical but can also be physically exhausting, especially for kids.
Plan:
Midday breaks at your resort or down times in less crowded areas of the parks
Pool time or naps
Early nights when needed
You’ll actually enjoy your trip more and avoid meltdowns (for kids and adults).
Step 10: Consider Using a Travel Planner
This is the easiest way to remove stress—and most people don’t realize:
It’s completely free.
A travel planner can:
Recommend the best resort for your family
Handle all bookings
Monitor for discounts and rebook your trip if a better deal comes out (huge!)
Help with Lightning Lane strategy
Create a personalized park plan
And most importantly—they save you hours of research and second-guessing.
Ready to Start Planning?
If you want expert help planning your Walt Disney World vacation—at no extra cost—I’d love to help.
Request your free quote today and let’s start planning your trip the right way.